How to Install Your Patio Misting System Properly (Complete Guide)
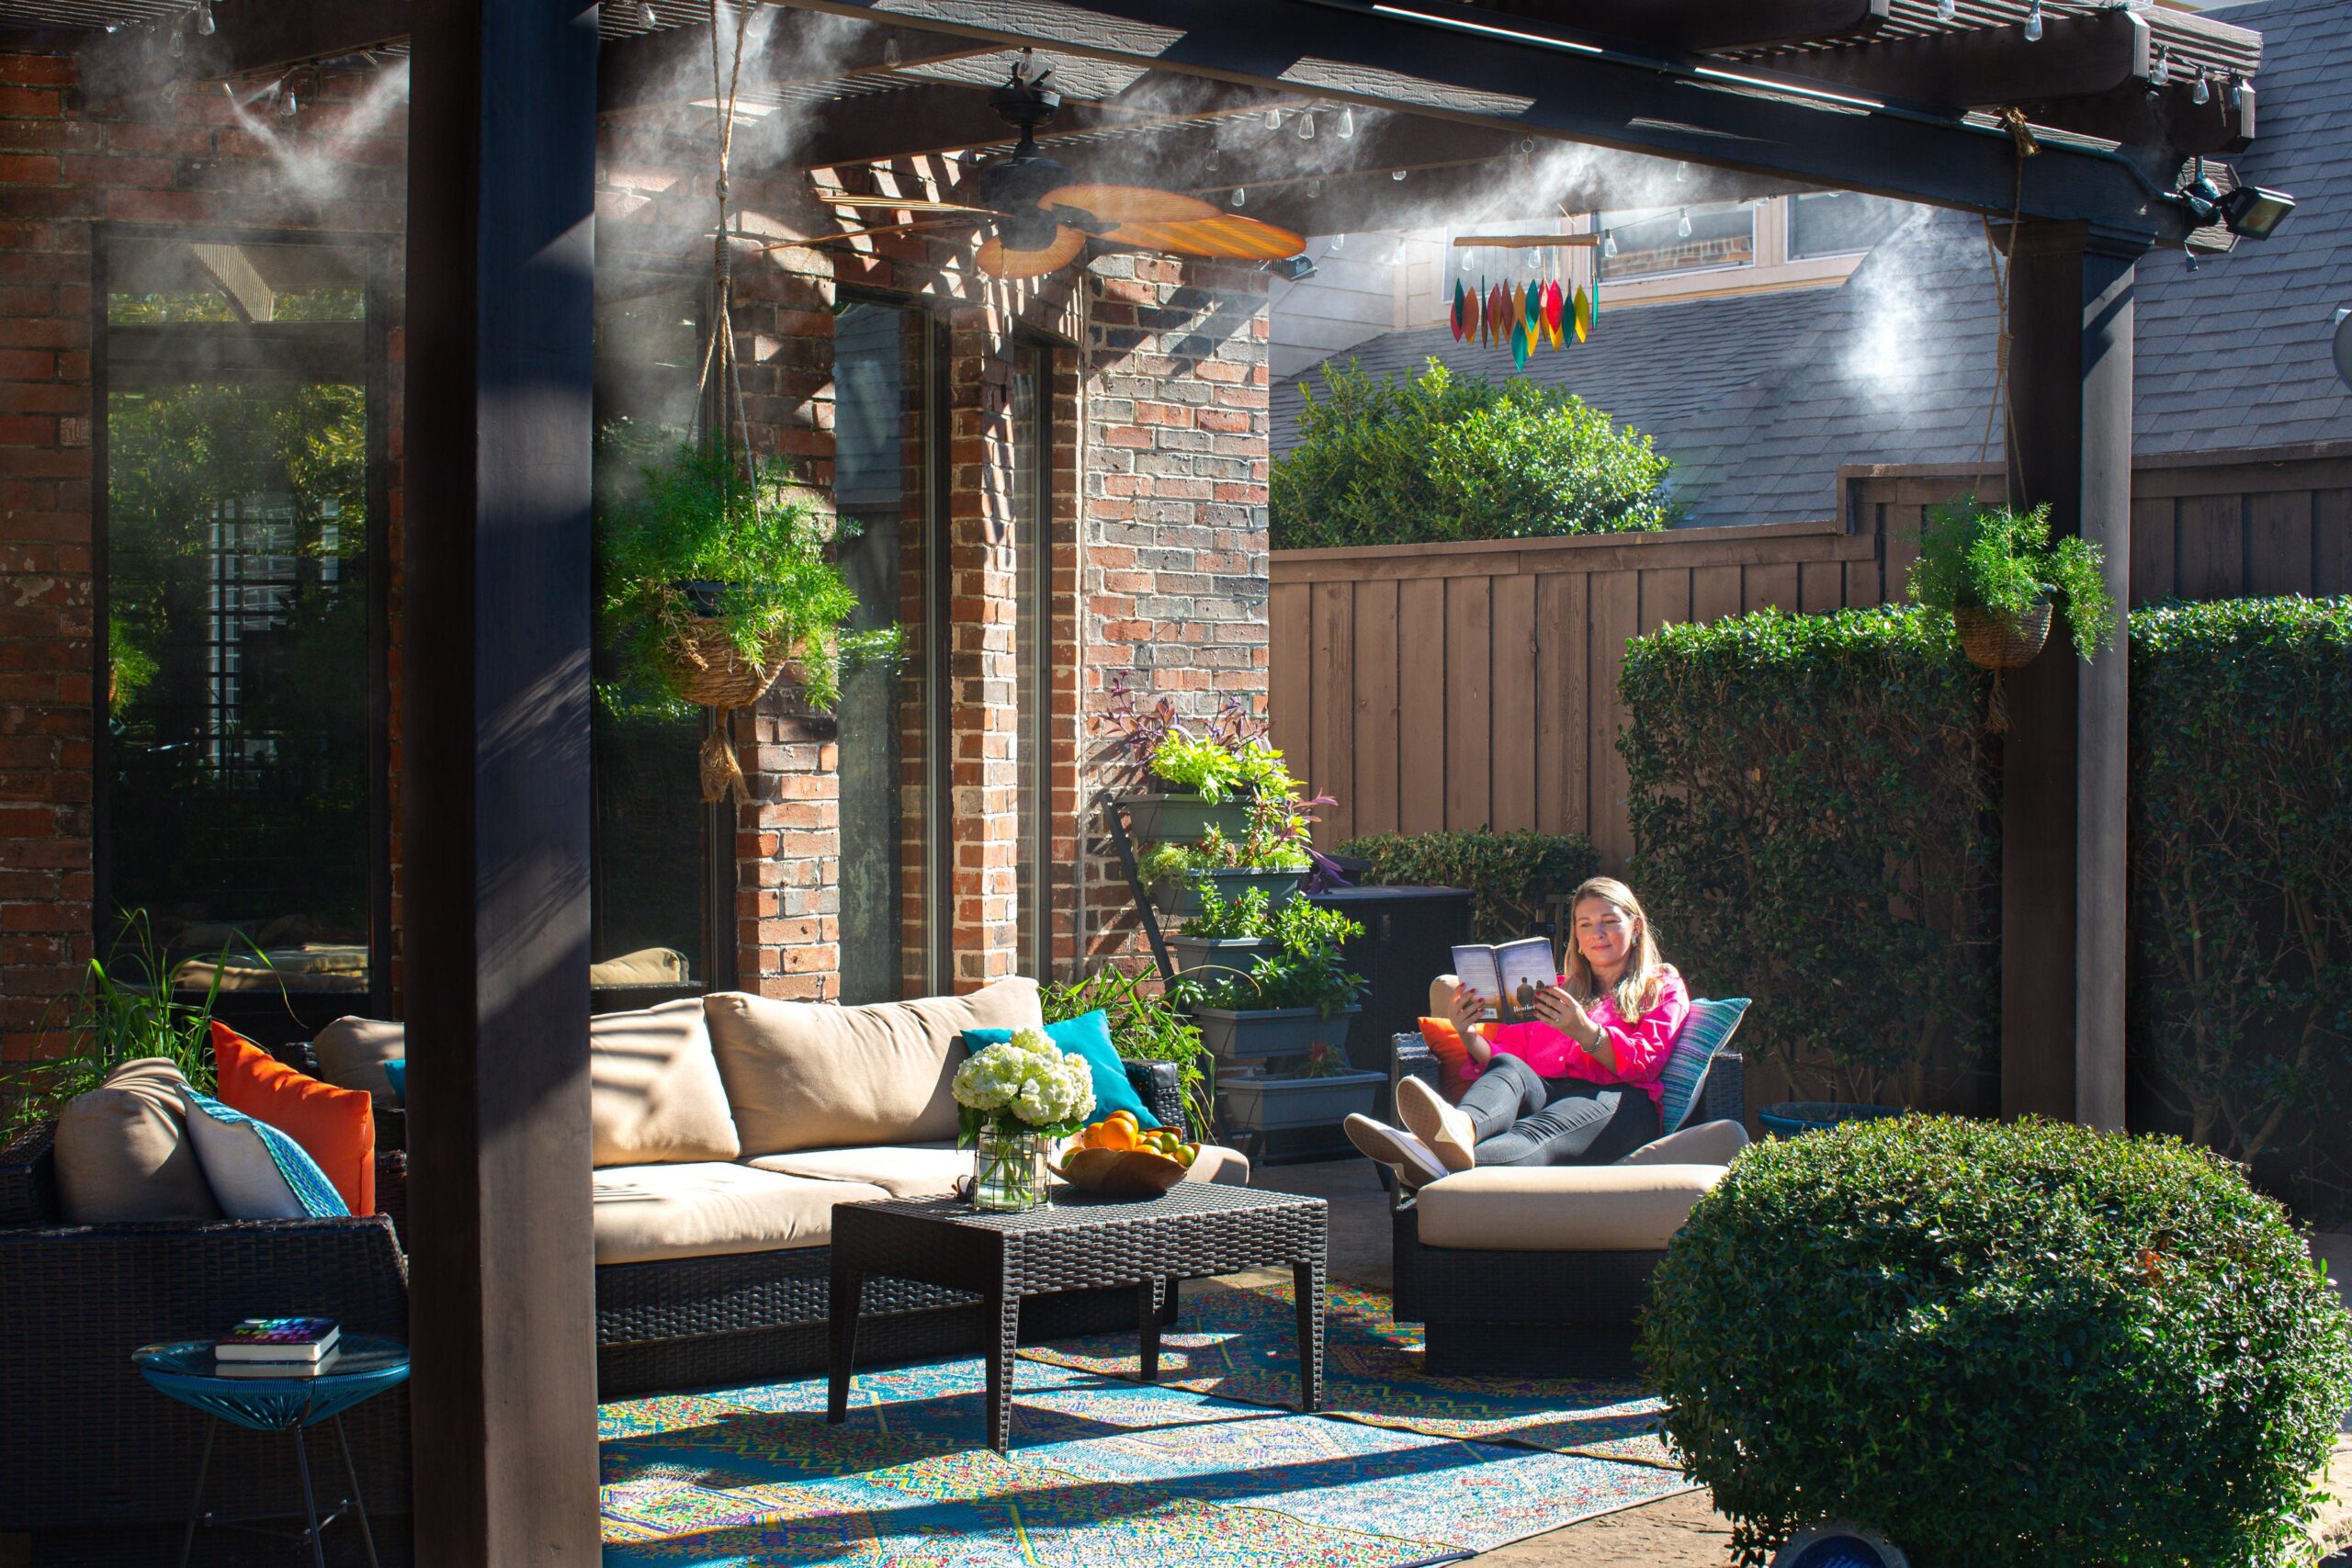
Patio misting systems are growing in popularity. They provide a cool pocket of air to enjoy the summer weather outdoors without suffering from the heat. However, they can be fairly complicated to set up if you haven’t done it before, and there are a few steps that aren’t very obvious.
Today, we want to go over how to install your patio misting system properly, and an alternative if you’re willing to spend just a little bit more, and we’ll cover that, as well.
Let’s get started.
Steps for Installing a High-End Patio Misting System
First, we’ll go over the parts of a misting system and the installation steps.
Patio misting systems in this high-quality part of the product spectrum tend to consist of a high pressure misting pump, water filtration, tubing, fittings, nozzles, and attachment brackets.
Before you start, you will need to know the square footage of your patio, or whatever other area you’re trying to mist, to make sure you get the right misting capacity for your application. Something small like a basic home patio is usually less than 100 square feet, but if you’re trying to mist a large greenhouse or garden, you might need a pump with high capacity.
This is no problem. Reputable misting system companies will provide a chart or live service support that will help you find the right model for your needs.
Tubing:
The tubing is the most visual component of your misting system. It’s what carries the water along the misting line you’re creating and allows it to reach the nozzles and is typically available in plastic and stainless steel materials. Select misting line tubing material that best fits your exterior. For most applications, this will be stainless steel.
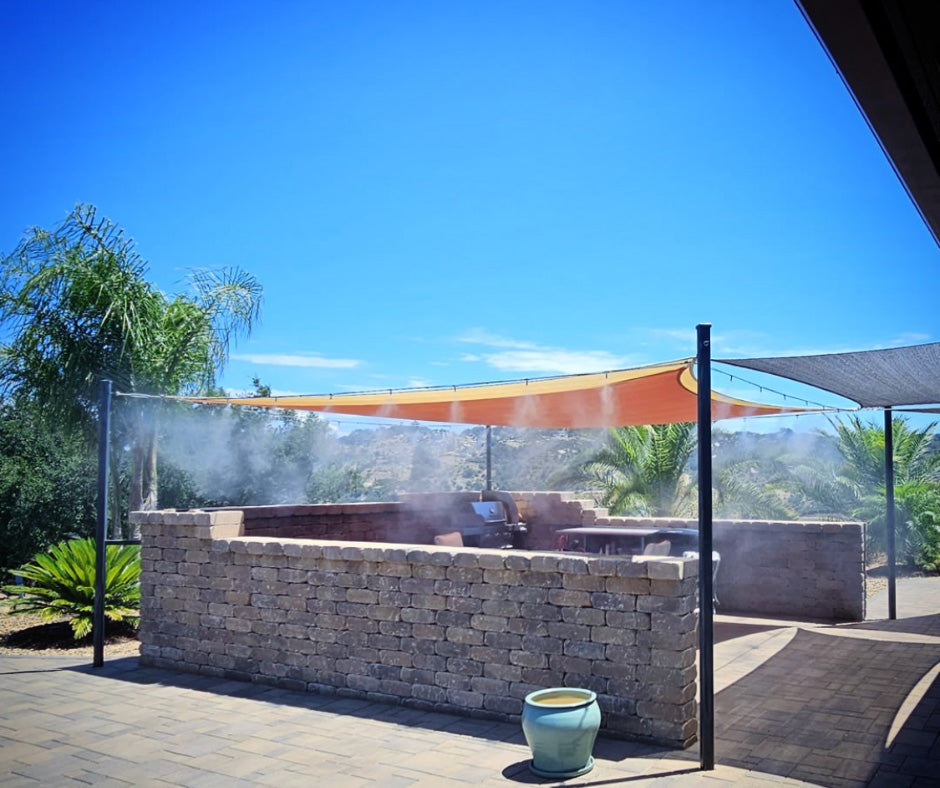
Next, plan your misting line. Placing the line along the patio open edge and then directing nozzles toward the space is often the best approach as it will ensure mist is pushed toward the occupied space and not away from it.

Installing the Pump:
With an advanced misting system like this, you’re not just flooding the tubing with your hose tap and spraying water everywhere. You’re spraying a very precise amount of water that will evaporate almost instantly when it exits the nozzle, this provides a cool patio without the soaking problems that low-end cooling systems create.
This is done via misting pumps. The pump pressurizes very small amounts of water to blast it through the tubing, and out the nozzles at an incredible range. Without the pump, you’d just have leaking tubes getting your porch wet.
Installing the pump is easy. It hooks right into your home’s water supply with a simple quick connect, and powering it is as easy as plugging it in. There’s no complex wiring or plumbing tasks required.
However, make sure you get a filtration system, typically provided by the brand that made your system, to prevent sediment and harsh chemicals from your home’s tap from getting into the nozzles and clogging them. These filters are inexpensive and last a while. So, they’re well-worth the small investment.
Installing the Tubing:
This is a lot easier if you map out the path you want your tubing to take beforehand. You can set it up however you want, but having a plan will keep you from wasting time and trying to force parts to fit odd angles or whatnot.
First, start by attaching the tubing to the pump. This is extremely easy with the tool-free locking system installed on the tubes. Pop the locking system in place after aligning the tubing with the pump’s outward flow nozzle, and you’re ready to go.
Now, you will start attaching the rest of your tubing to that starting piece. Each tube will connect the same way as the first with a tool-free locking system. The key factor is ensuring you have the right tubing parts to follow your planned misting line. Curved, angled, and various lengths of straight tubing will all need to be considered.
Mounting the Rubber Brackets:
The tubing won’t just stand up on its own along the side of your house and your patio’s overhang. It needs to be secured. This is done with rubber brackets that hold the tubing in place without scratching or damaging the tubing like metal brackets would and it eliminates noise from pump vibrations. These are simply screwed into the support you’re mounting the tubing to, and they squeeze the tubing to keep it secured.
You can do this as you’re putting the tubing together to keep things nice and tidy while you do it, or you can do it beforehand and try to pop the tubing into place once it’s assembled. That can get a bit tricky, though. You’ll be manipulating a fairly long series of tubes all at once instead of one at a time.

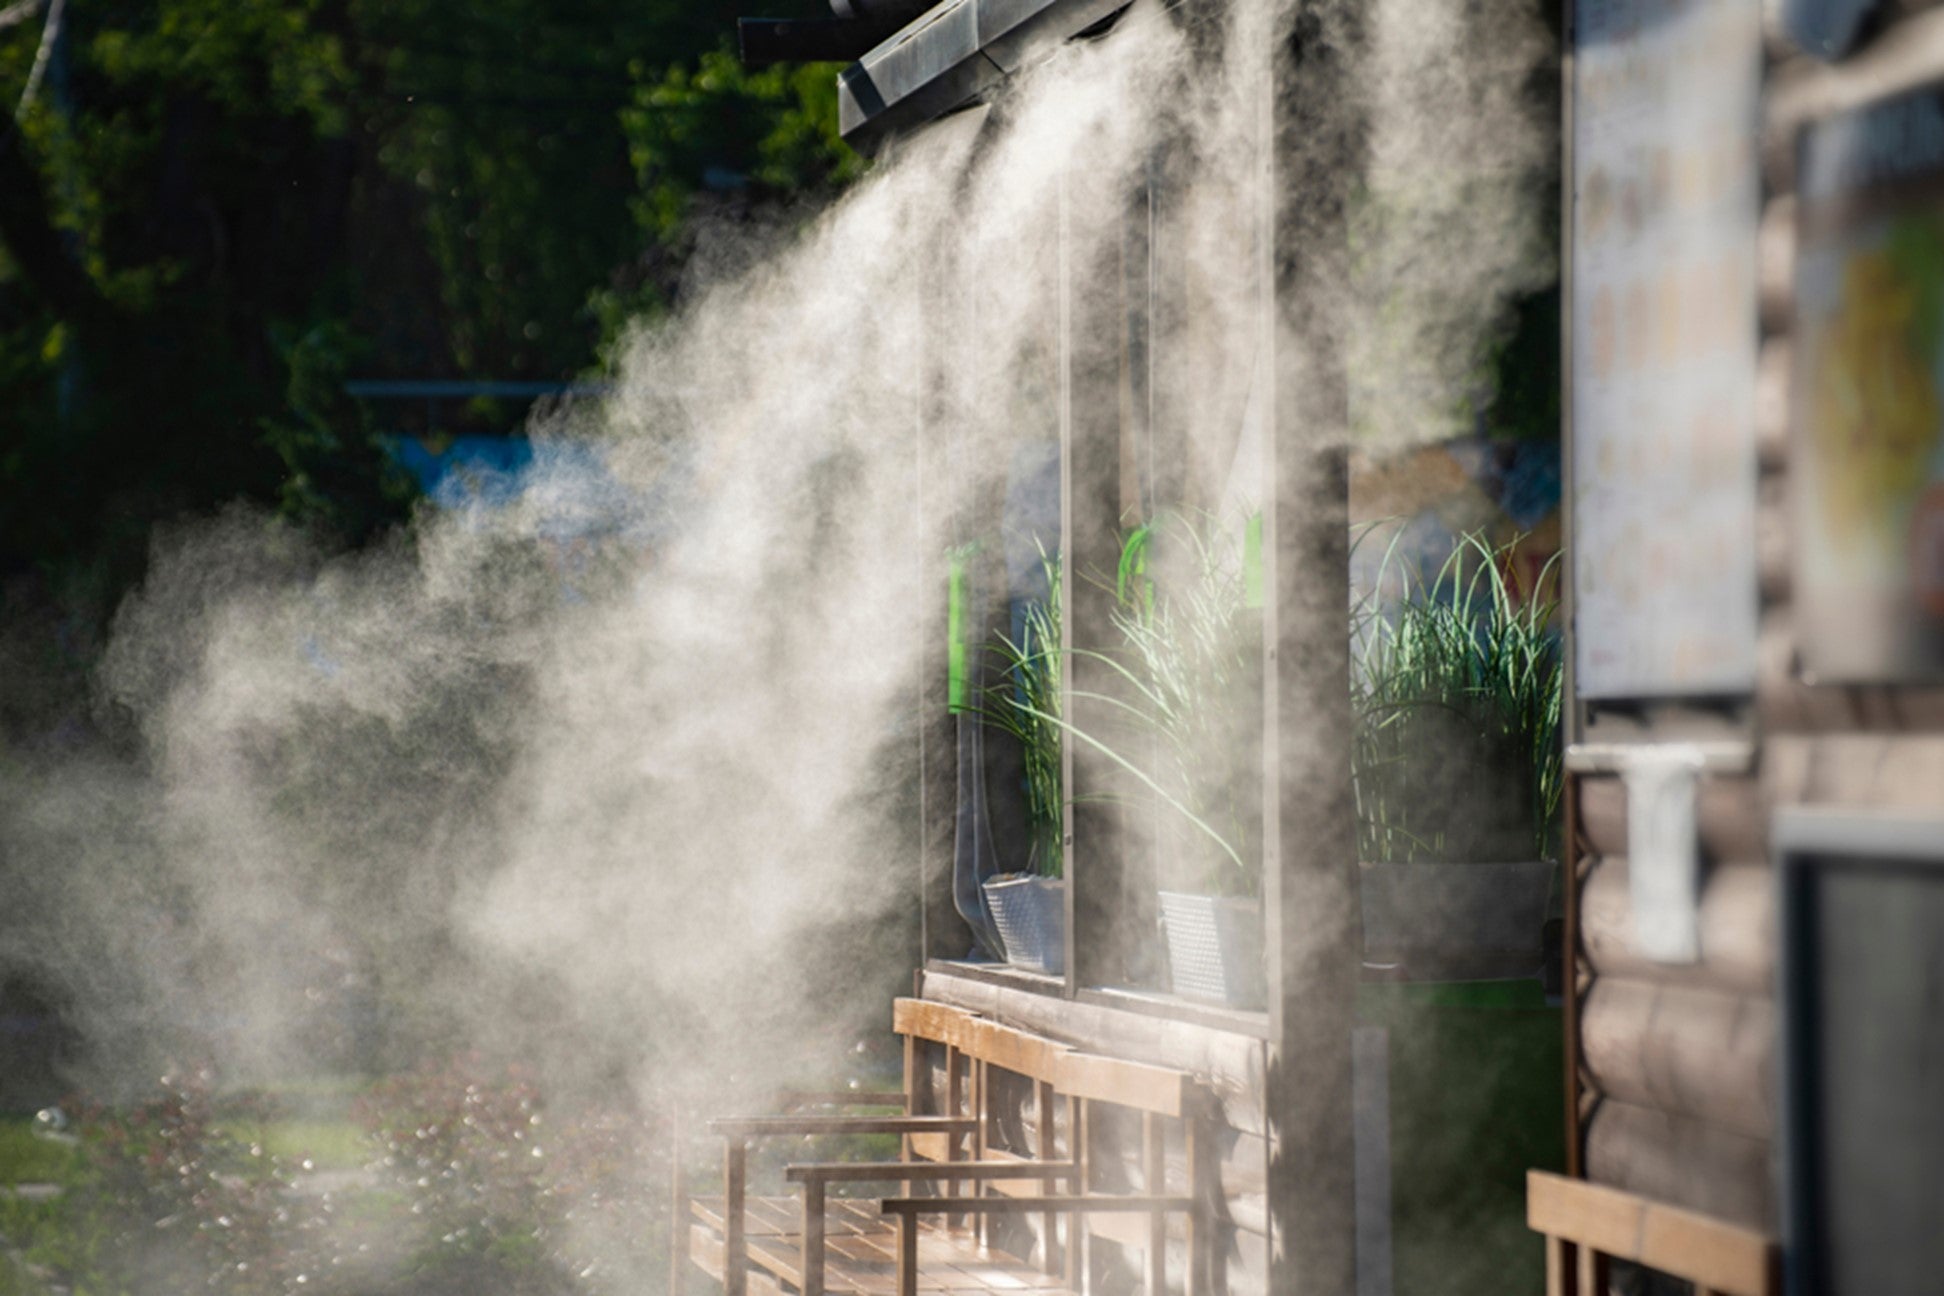
Attach the Nozzles:
This is the part that makes your system “mist” instead of just squirt streams of pressurized water everywhere. These nozzles split the small amount of pressurized water into even smaller amounts and disperse it like a cloud over a large area, allowing it to evaporate almost immediately
You can attach the nozzles one of two ways. You can attach them once you’ve fully mounted your tubing, and save it for last. This lets you get the bulk of the work out of the way early, but it also means you’ll be installing every nozzle from the top of a ladder since everything is installed. If you don’t want to move a ladder around after a foot or two of nozzles are installed, take option two.
You can also install the misting nozzles before you mount the tubing. You can do this on level ground, and quickly work your way from tubing piece to tubing piece without moving around a whole lot. The only downside is that it might make handing the tubing slightly harder while mounting it.
The Easy Way
If you do all that, you’re ready to install your patio misting system properly. Just turn your misting system on, and you will have a cool patio in seconds. However, it is a lot of work, even with all the time-saving features included.
You can skip that if you choose a customer-first misting system company like aerMist that offers affordable installations. The additional cost is minimal, and you’ll know your system is set up properly the first time