Misting TipsPosted
High-pressure misting systems are must-have luxuries in modern homes, especially in hot climates. They’re major advancements over the old cheap misting systems that spray water everywhere, and they provide an unmatched experience on your patio or any other outdoor area you’re looking to cool down.
However, while they’re amazing advances in cooling technology, a lot of our clients have trouble installing their misting systems in a way that maximizes their potential.
Today, we’re going to teach you how to properly install misting nozzles and position them in a way that helps you get the most out of them.
Your tubing placement will be a large part of this, but the alignment, proximity, and general positioning of your misting nozzles are all the main determining factors of the results your misting system provides.
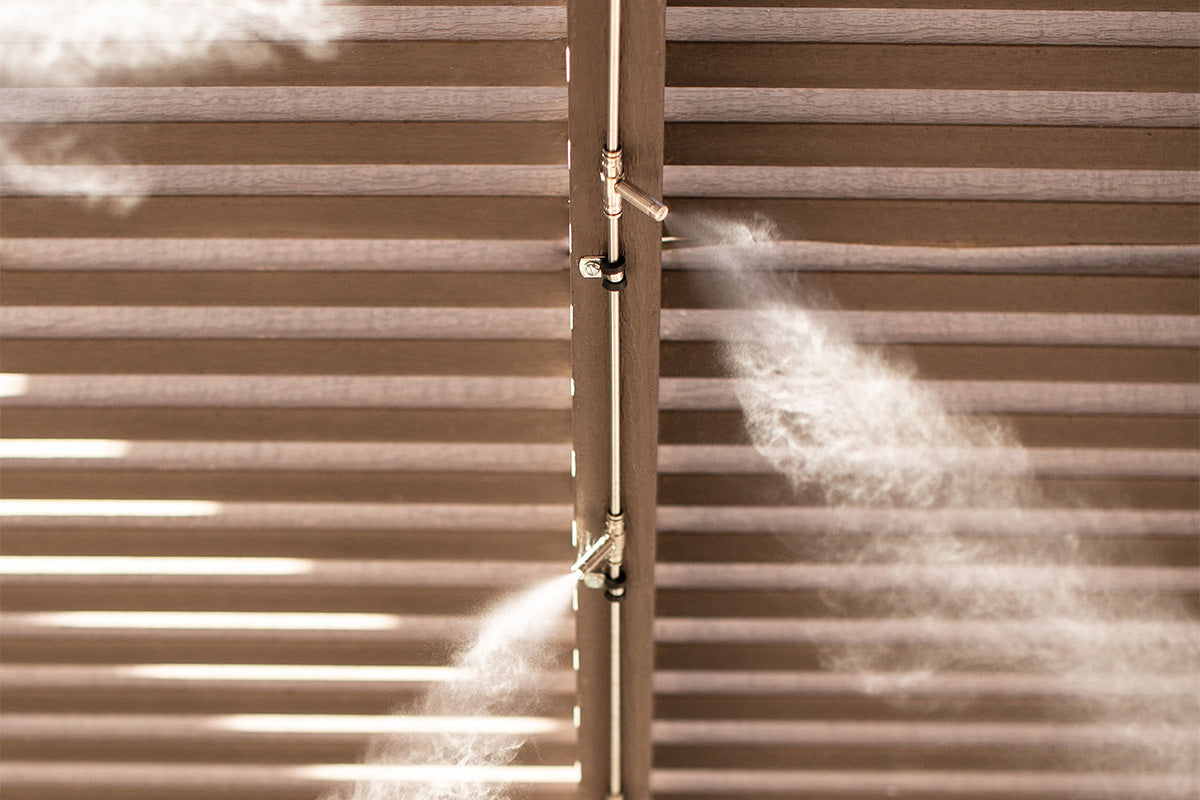
While every part of your misting system is crucial for its operation, the nozzles affect where water is sprayed.
If they’re too far apart, they won’t create a solid pocket of cool air. If they’re too close together, you miss out on a massive portion of your system’s effective range.
Even worse, if they’re facing the wrong direction, you’re not going to cool the area at all.
How you go about installing your misting system will depend entirely on the model you get. However, if you get an aerMist misting system, the process is extremely easy.
Let’s take a look.
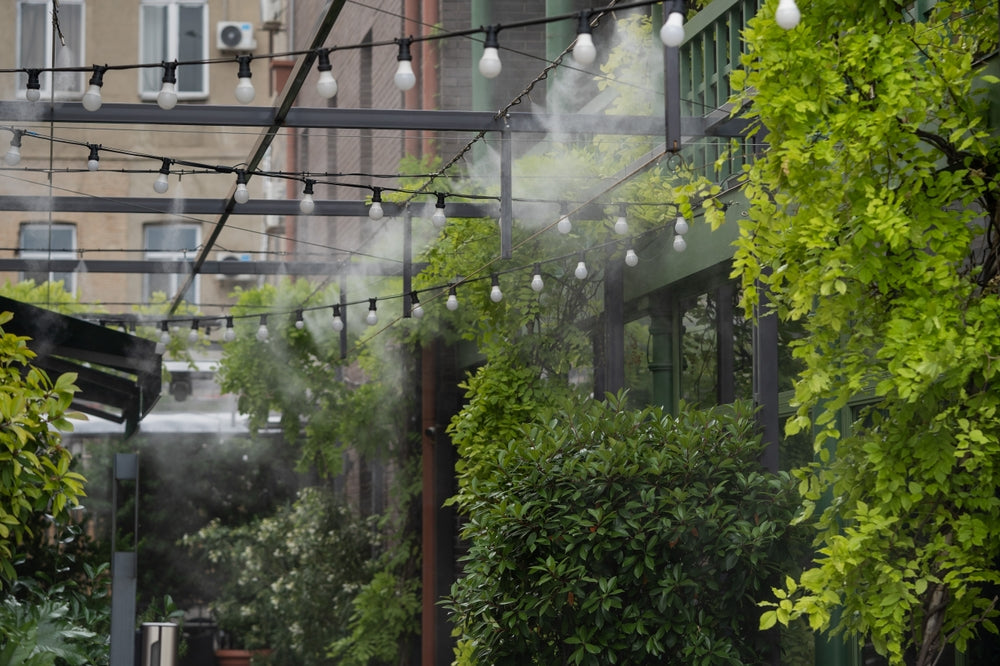
First, the tubing needs to be installed so that mist can fully fill that space when on, usually along the edge of the home in the area that is going to be misted. This is a simple process that involves mounting brackets and sliding the tubing into place.
With aerMist tubing, everything is designed to snap together and create a leak-proof seal without the need for any tools once the brackets are mounted.
However, there are two types of aerMist tubing. There’s metal tubing that comes in 2-foot sections, and there’s plastic tubing that comes in the form of a roll. That's cut to length by the person performing the installation.
Other misting systems may have dramatically different tubing installations.
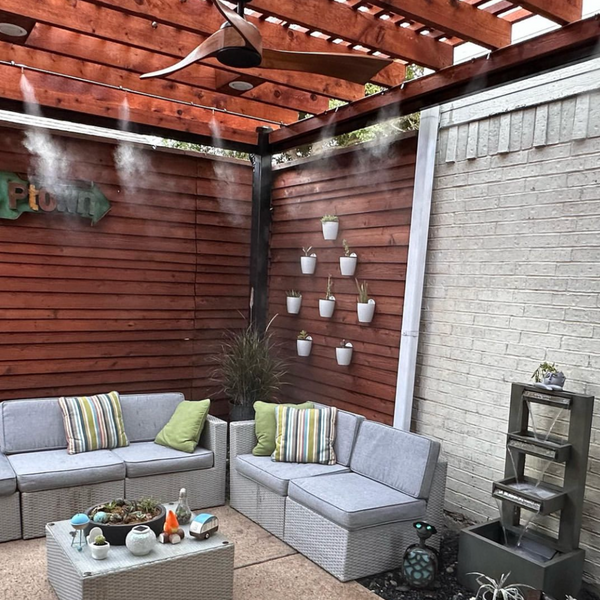
The placement of tubing in correlation to the target area is also crucial. While high-pressure systems evaporate water instantly, anything within 8 feet might receive too much moisture and become wet. That’s problematic in entertainment areas because electronics get destroyed, and guests feel uncomfortable.
As such, your tubing needs to be set up at least 8 feet high up and at least 6 feet of distance between the nozzle mounting points and any solid surfaces that may be in the direct path of mist, with 10 to 12 feet being the ideal height.
Of course, you don’t want to place nozzles too high up, or you risk cooling areas you’re not going to be in, and you’ll just be wasting water running your system, with anything above 14 feet being too high up for most installations.
Type of space
Additional Info
Don’t let the heat keep you indoors. With aerMist, you can enjoy your outdoor spaces all summer long.
Shop with confidence with our full three-year guarantee.
Pick a delivery date on many of our garden buildings.
Trusted by thousands for our expert service and quality.